The Foundation Chain
After preparing the yarn, unroll a foot or two so that the working edge is at the top, and the free edge is at the bottom.
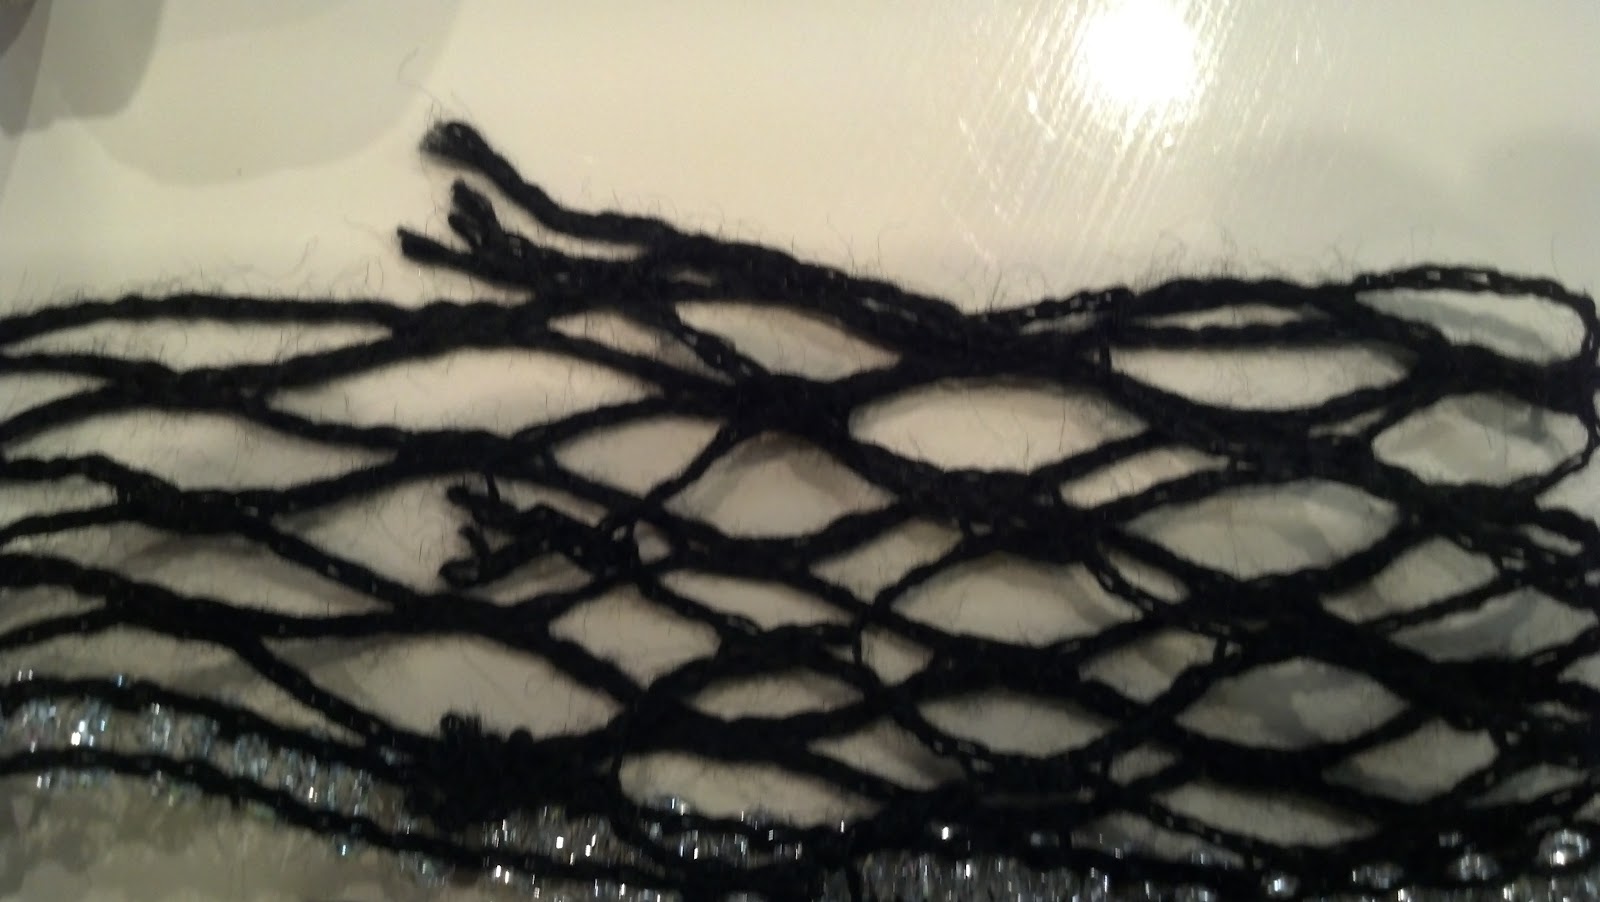
Large Net and Ribbon Yarn
Fold over the raw edge between the second and third loops so that the second and first loops exactly overlay the third and fourth loops.
|

|
| Starbella Flash | Ribbon Yarn (Loops & Threads Flaunt) |
Considering only the working edge, the first double-loop from the folded edge is your initial slip knot. Insert the hook into the second double-loop and pull through the first for your first chain. Place a stitch marker through the first chain stitch.
 |
| Stitch marker through first chain stitch (lower right) |
Continue to chain by inserting the hook through the next open loop of yarn and pulling the thread through the chain loop on the hook.
Small Net Mesh Yarn
Fold over the raw edge 1"-2" (2-5 cm) on a narrow yarn, or 3" (8 cm) on a wider yarn, matching loops on the working edge.
Insert the hook into the working edge about 1/2" (1 cm) from the folded edge.
Considering only the working edge, insert the hook about 1" (2.5 cm) from the loop already on the hook; pull through the loop on your hook for your first chain. Place a stitch marker through the first chain stitch.
 |
| Second chain. Notice stitch marker under thumb |
Chaining
If you start your work with a chain, continue chaining in this manner until you have as many stitches as your pattern requires. Place a stitch marker through the last chain before starting your first row.
The First Row

|
 |
| The top chain of Flaunt is highlighted in yellow
|
The top chain of Twist & Twirl is highlighted in green |
Looking at the top of the chain you just completed, you should see what looks like a traditional chain stitch, formed by the working edge. This is the part of the work into which you will insert your hook for the first row of stitches.
Continue to use the next open loop on ribbon and large mesh yarns (or the loop about 1" from the previous yarn-over on small mesh yarns) for yarn-overs, while in all other ways forming your stitches as usual.
Notes
Remember to move up your stitch markers at the beginning and end of each row, or at the beginning of each round.
If for any reason you need to stop your work, remove your hook from the active loop and insert a locking stitch marker in its place.


.jpg)

 Insert the hook into the working edge about 1/2" (1 cm) from the folded edge.
No comments:
Post a Comment