Showing posts with label Twist and Twirl. Show all posts

Friday, February 22, 2013

Basic Stitches: Double Crochet

Double Crochet

Double crochet is, in my opinion, the quickest and most effective fabric, or filling, stitch in crochet. It works up more rapidly than single crochet, without the long bars and open spaces of treble crochet, double treble, or bullion stitch.

In ruffle yarns, the longer stitch of double crochet presents a deeper ruffle than single crochet. On the flip side, the longer stitch means a longer length of unruffled "back side" between rows on The Scarf, while reducing the "z-direction" — the thickness of the scarf. It makes for a thinner, more flexible scarf, and in a ribbon yarn, can bring to mind the curls of natural fleece or the evenly-spaced curves of an Elizabethan ruff.


Insert hook through next open loop of yarn.
Insert hook through next open chain or stitch; wrap next open loop of yarn around hook.
Use hook to draw the last thread through the chain or stitch.
Wrap next open loop of yarn around hook.
Draw thread through the loop and yarn-over on the hook.
Yarn over once again, and draw through both loops on hook.
Row of Double Crochet (Flamenco by Trendsetter)
Row of Double Crochet (Twist & Twirl by Bernat)

After a few rows of stitches:
Flamenco (Trendsetter)

Twist & Twirl (Bernat)
Top to bottom: Flaunt (Loops & Threads)
Sashay (Red Heart Boutique)
Starbella (Premier Yarns)

Thursday, February 21, 2013

Starting Work: Crochet


The Foundation Chain

After preparing the yarn, unroll a foot or two so that the working edge is at the top, and the free edge is at the bottom.

Large Net and Ribbon Yarn

Fold over the raw edge between the second and third loops so that the second and first loops exactly overlay the third and fourth loops.
Starbella FlashRibbon Yarn (Loops & Threads Flaunt)

Considering only the working edge, the first double-loop from the folded edge is your initial slip knot. Insert the hook into the second double-loop and pull through the first for your first chain. Place a stitch marker through the first chain stitch.

Stitch marker through first chain stitch (lower right)
Continue to chain by inserting the hook through the next open loop of yarn and pulling the thread through the chain loop on the hook.


Small Net Mesh Yarn

Fold over the raw edge 1"-2" (2-5 cm) on a narrow yarn, or 3" (8 cm) on a wider yarn, matching loops on the working edge.


Insert the hook into the working edge about 1/2" (1 cm) from the folded edge.

Considering only the working edge, insert the hook about 1" (2.5 cm) from the loop already on the hook; pull through the loop on your hook for your first chain. Place a stitch marker through the first chain stitch.
Second chain. Notice stitch marker under thumb

Chaining


If you start your work with a chain, continue chaining in this manner until you have as many stitches as your pattern requires. Place a stitch marker through the last chain before starting your first row.


The First Row


The top chain of Flaunt is highlighted in yellow The top chain of Twist & Twirl is highlighted in green
Looking  at the top of the chain you just completed, you should see what looks like a traditional chain stitch, formed by the working edge. This is the part of the work into which you will insert your hook for the first row of stitches.


Continue to use the next open loop on ribbon and large mesh yarns (or the loop about 1" from the previous yarn-over on small mesh yarns) for yarn-overs, while in all other ways forming your stitches as usual.


Notes

Remember to move up your stitch markers at the beginning and end of each row, or at the beginning of each round.

If for any reason you need to stop your work, remove your hook from the active loop and insert a locking stitch marker in its place.


Monday, February 4, 2013

How to Prepare Unembellished Mesh Yarn

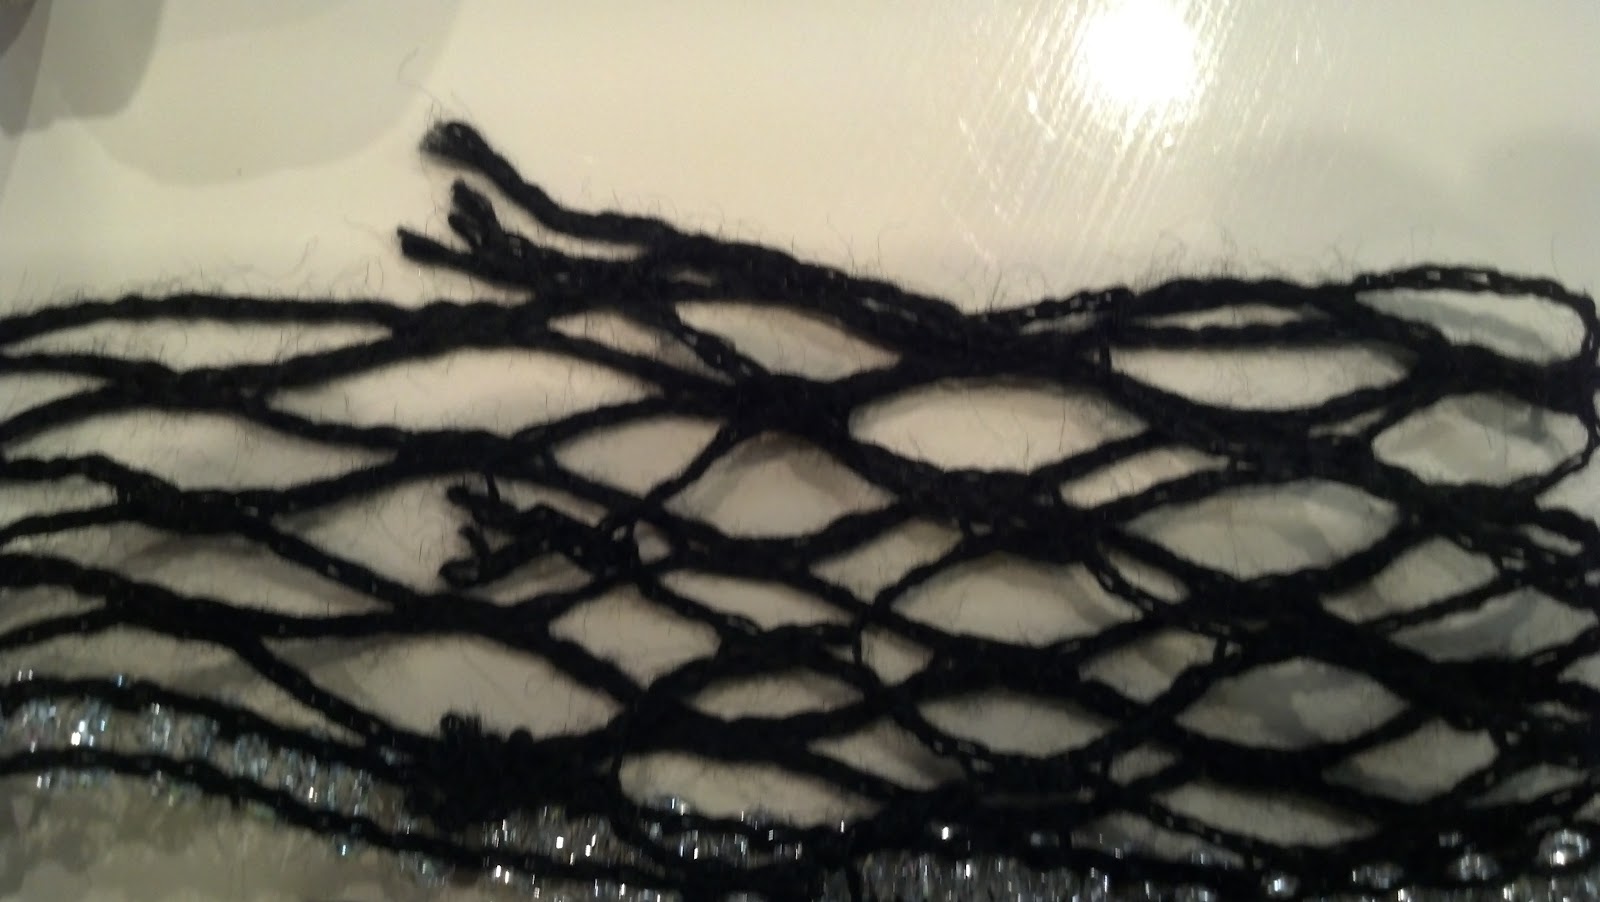
Many unembellished mesh yarns are unstable in that they will not lie flat to press, nor will they remain open enough to work with quickly without being pressed and starched. While these are in some ways more difficult to prepare than the more common embellished-edge mesh yarns, you may need to use some of these techniques to prepare embellished-edge yarns.

Spread open the end edge with your fingers to keep it flat and broaden the mesh before beginning to press the yarn.
Spread the open edge with your fingers
(Flamenco by Trendsetter Yarns)
Spread and tension the yarn with the fingers of one hand, while pressing towards the tension with the iron (in the other hand).
Spread and tension the mesh with your fingers
(Twist & Twirl by Bernat)
A light spray of water or starch (test for colorfastness first!) may help keep the yarn flat and the mesh from collapsing back into a ribbon.
Continue to press flattened and ironed yarn.
(Flamenco by Trendsetter Yarns) 
If the yarn is particularly ornery, you may need to pin it out before ironing, and starch it more heavily.
Pinned Bernat Twist & Twirl
As you finish each section, wind it loosely around a toilet paper or toweling tube, empty bottled water bottle, or spool of your choice.
Prepared, unspooled yarn
(Twist & Twirl by Bernat)

Saturday, February 2, 2013

An Overview of Ruffle Yarns

Not all ruffle yarns are alike.

Premier Yarns Starbella Flash
Red Heart Sashay
At Michaels, I find Scarf Ladies who will only work with Sashay, because it has more interior structure than Starbella. Others will only work with Starbella because its edges are more tightly worked, and it's easier to see the edge of the yarn they're working. Others choose their yarn by the color or colorway, or the embellishment on its edges.

I'm not going to post an exhaustive catalog of different ruffle yarns here: I've already posted them to a Pinterest board. I am going to post a couple of samples so you can see the general types.

Bernat Twist & Twirl
Trendsetter Yarns Flamenco
Yarns such as Sashay and Starbella have two distinct edges: one as thin as the interior mesh, and one which is thicker and may sport metallic thread, chenille or "fur" treatment, or even pompoms.

Yarns such as Twist & Twirl and Flamenco have a mesh structure, but no distinction between "left" or "right" ("up" or "down") edges.

Loops & Threads Flaunt
In addition to edge treatment, these yarns differ by their overall width and by the density of the interior mesh.

A third type of ruffle yarn, sometimes referred to as "ribbon yarn" or "ladder yarn", has a satiny main area similar to a dressmaker's "bound fringe", and a semi-detached yarn similar in width and spacing to that of mesh ruffle yarns. These yarns are good starter yarns for learning how to apply existing knit and crochet techniques to ruffle yarn. Their relative stiff and short "ruffle" area is great for demonstrating the effects of these basic stitches and techniques in a ruffle environment; you will see me referring again and again to ladder yarn samples as I show you these basic techniques. My primary yarn in this category is Loops & Threads Flaunt (Loops & Threads is one of Michaels' store brands); similar yarns include Red Heart Boutique Ribbons, Plymouth Yarns Joy Rainbow and Passion Ice

A fourth type of ruffle yarn is based on a strip of fabric or lace edging, with evenly spaced holes near the edge opposite the fancy edge.

As I describe a technique, I may mention the type of yarn and size of mesh I think would make the effect stand out. This doesn't mean you shouldn't try it on a different ruffle yarn, or a different material altogether! The main purpose of this workbook is to give you design ideas — which means taking my notes and running with them in your own, unique direction. That said, most of the time I will be working with the first and third types of ruffle yarn, as these are the most readily-available from major craft stores and online bulk yarn suppliers.