Showing posts with label loops. Show all posts

Tuesday, February 26, 2013

Technique: Mitered Cast On and Bind Off

One method of hiding the raw edges on ruffle yarn is to work them into the bind on and cast off of a piece.

Casting On


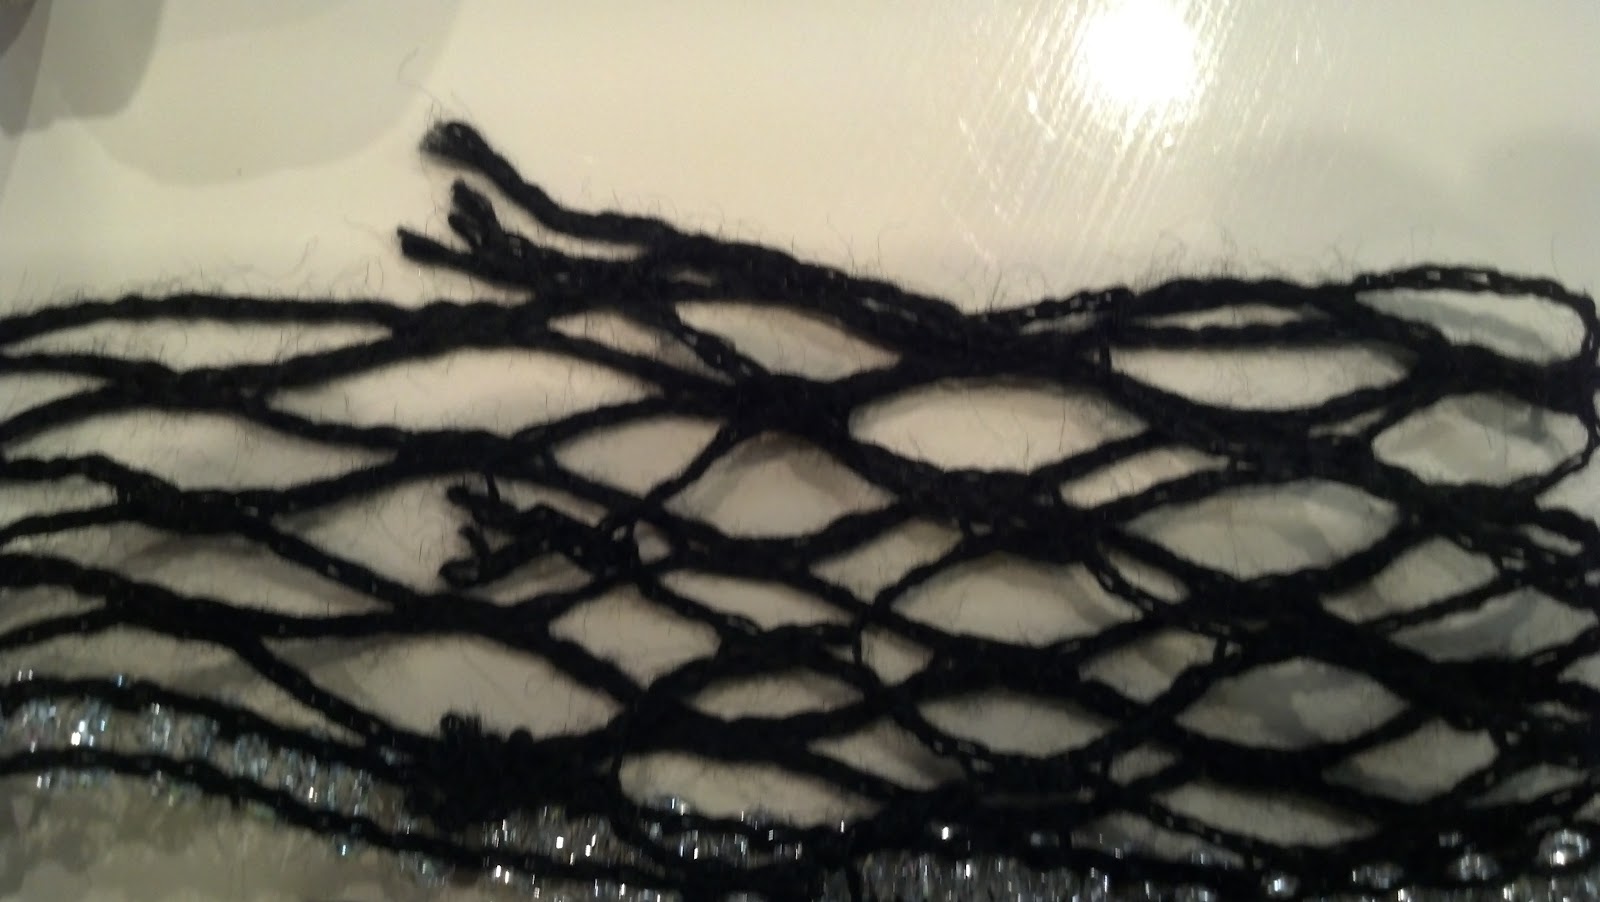
Fold the raw edge diagonally so that the first row of alternate spaces meets the loops formed by Threads 1 and 2.
Match the loops to the alternate spaces. You may need to pin the openings to a padded board to keep them aligned.
Cast on or chain as usual, keeping the matched openings together.


Finishing Off

As you approach the end of your piece, count out the number of loops you need to bind off and/or finish the final row or round. You should do this when you require one or two loops more than the number of alternate rows on your yarn.
Cut the yarn with two or three loops more than you need to finish your work.

Fold the raw edge diagonally so that the first row of alternate spaces meets the loops formed by Threads 1 and 2. Be sure to make your fold so that the raw edge will end up on the inside of the work, rather than the outside (as I did in following photos).
You may need to transfer the matched loops to a cable needle or other holding needle to keep them in order as you finish the final row.
A third needle keeps the loops-to-be-worked straight

Continue to crochet, or to bind off, as usual. Finish and secure the threads and open loops at the working edge.
A mitered bind-off


Note that if I had folded the raw edge to the other side of the working edge, the raw edges at the top would have been hidden.

Monday, February 25, 2013

The End of the Yarn

There are two places in our work in which we come to the end of the yarn: when we are about to finish a skein in the middle of our work (and need to graft in more yarn to continue), or when we come to the end of our work and need to secure the final stitches.

Because of its bulk, the ends of a ball of ruffle yarn cannot be woven into the work the same way we work in the ends of traditional yarns.


Adding More Yarn

We've come to the end of our yarn


Overlay the old and new yarns
(contrast used to demonstrate technique)
Work the two yarns as one until the old yarn runs out

When adding more yarn, overlap the last three or four loops of the ball you are about to finish with the first three loops of the  new ball. Work the loops of both balls together, the same way you did with the folded-over loops at the start of  your work.


Now working with just the new yarn

How the old and new yarns work into each other
(this would be invisible with the same color yarn)


Finishing Your Work


With a Pulled-Through End (Ribbon Yarns, Worked As Yarn)

As you approach your last several stitches, count out the number of loops you will need to complete those stitches, plus an additional four loops. 

When you get to the end of your work, pull the remaining yarn through the last loop.

Pull to tighten the last stitch and secure the tail.

If the stitch will not tighten (which is typical for ruffle yarns), you will need to use sewing thread to secure the tail to the back of the work.


With a Sewn-In End

As you approach your last several stitches, count out the number of loops you will need to complete those stitches, plus an additional four loops. 

Cut the yarn along its width. 

Fold back the last four loops of the yarn, the same way you did with the first two loops when starting your work.

Work as usual, binding off (knitting) or crocheting your final stitches.

At the end, you should have a single loop of doubled yarn on your hook or needle. 

Take a needle and sewing thread, and sew this loop, either to the first two unworked threads of the yarn's edge, or to the previous two or three stitches of your work.

With a Knotted End (Mesh Yarns Only)

As you approach your last several stitches, count out the number of loops you will need to complete those stitches, plus an additional few loops. 


Cut the yarn along its width. 

Using only the four extra loops, cut the yarn along its length between the second and third threads, or between the highest-number worked thread and the thread beneath it..(If the yarn has many threads, you may want to make a parallel cut several threads down, to end up with two "strings" of about equal bulk, plus an embellished tail.)


At the end of the work, pull the working threads through the loop formed by the last stitch, leaving the cut part of the yarn behind.

Using the pulled-through yarn as one "string", and the remainder as a second "string", tie the two strings together using a square knot.


Trim the trailing ends, (and if appropriate, the embellished tail).

Friday, February 22, 2013

Basic Stitches: Double Crochet

Double Crochet

Double crochet is, in my opinion, the quickest and most effective fabric, or filling, stitch in crochet. It works up more rapidly than single crochet, without the long bars and open spaces of treble crochet, double treble, or bullion stitch.

In ruffle yarns, the longer stitch of double crochet presents a deeper ruffle than single crochet. On the flip side, the longer stitch means a longer length of unruffled "back side" between rows on The Scarf, while reducing the "z-direction" — the thickness of the scarf. It makes for a thinner, more flexible scarf, and in a ribbon yarn, can bring to mind the curls of natural fleece or the evenly-spaced curves of an Elizabethan ruff.


Insert hook through next open loop of yarn.
Insert hook through next open chain or stitch; wrap next open loop of yarn around hook.
Use hook to draw the last thread through the chain or stitch.
Wrap next open loop of yarn around hook.
Draw thread through the loop and yarn-over on the hook.
Yarn over once again, and draw through both loops on hook.
Row of Double Crochet (Flamenco by Trendsetter)
Row of Double Crochet (Twist & Twirl by Bernat)

After a few rows of stitches:
Flamenco (Trendsetter)

Twist & Twirl (Bernat)
Top to bottom: Flaunt (Loops & Threads)
Sashay (Red Heart Boutique)
Starbella (Premier Yarns)

Thursday, February 21, 2013

Starting Work: Crocheting in the Round


In traditional crochet, we start with a central ring, whether it's made of plastic or bone, padding threads, chain stitches, or a single chain stitch.

It's not so different in ruffle yarn crochet, except that the ring comes from the threads and spaces of the yarn's width.

The Foundation Ring

Starbella Note how the hook comes under the embellished edge.
Accordion-fold the raw edge, matching all spaces from the working edge to the free edge. Insert hook through the open edge space from working edge to free edge, with the hook coming under the free edge and the ball coming to the left of the hook (if you are right-handed).
This is equivalent to the usual foundation ring or the chain stitch that supports all the stitches of the first crocheted round. Work all of the gathered threads as a single initial padded ring, except as noted.

The First Round


Single crochet: Slip the hook through the next free loop of the working edge, and bring the thread through the foundation ring.
Hook is inserted through the first free loop of the working edge

Slip the next free loop of the working edge around the hook from the back of the work. Draw through both loops on the hook to complete the stitch, just as in traditional crochet.

Yarn drawn through foundation ring


Continue to crochet around the ring, working in the raw edge of the yarn.

Another view of the foundation ring

Drop threads from the ring
as they start to get in the way
At some point, about a third to half-way around the ring, the threads will want to separate and it will become difficult to keep all of the threads in the ring (or, it will seem as if you would be adding more threads into the ring). Drop the threads that want to separate (or draw in more bulk) as you continue to crochet around.

As you come back to the beginning of your work, pick back
up the threads just before your first stitch to complete the circular round.

Ready to join: this Starbella first round
has 14 single crochet stitches
Note that this first round will have more than the six stitches to which you may  be accustomed. (I average eight to ten double-crochets for Sashay, about the same number of single crochets for Flaunt.)

Saturday, February 16, 2013

Starting Work: Knitting

Casting On

After preparing the yarn, unroll a foot or two so that the working edge is at the top, and the free edge is at the bottom.
Raw edge, Starbella Flash (Premier Yarns)
Fold over the raw edge between the second and third loops so that the second and first loops exactly overlay the third and fourth loops.
Raw edge has been folded over, matching loops
Sashay (Red Heart Boutique)


Slip the first double loop of the working edge over the left knitting needle (if you knit right-handed) from back to front if you work English or Continental, or from back to front if you work Eastern.
Casting on the first stitch


Slip the second double-loop over the needle (this should bring the raw edge closer to the middle of the work.
The second stitch
Slip the first single loop (the third loop from the folded edge) over the needle. Continue until you have slipped as many loops over the needle as the number of stitches you need to cast on.


A short row of cast-on stitches


The First Row

Note how Flaunt is kept tensioned and untwisted to start the row.
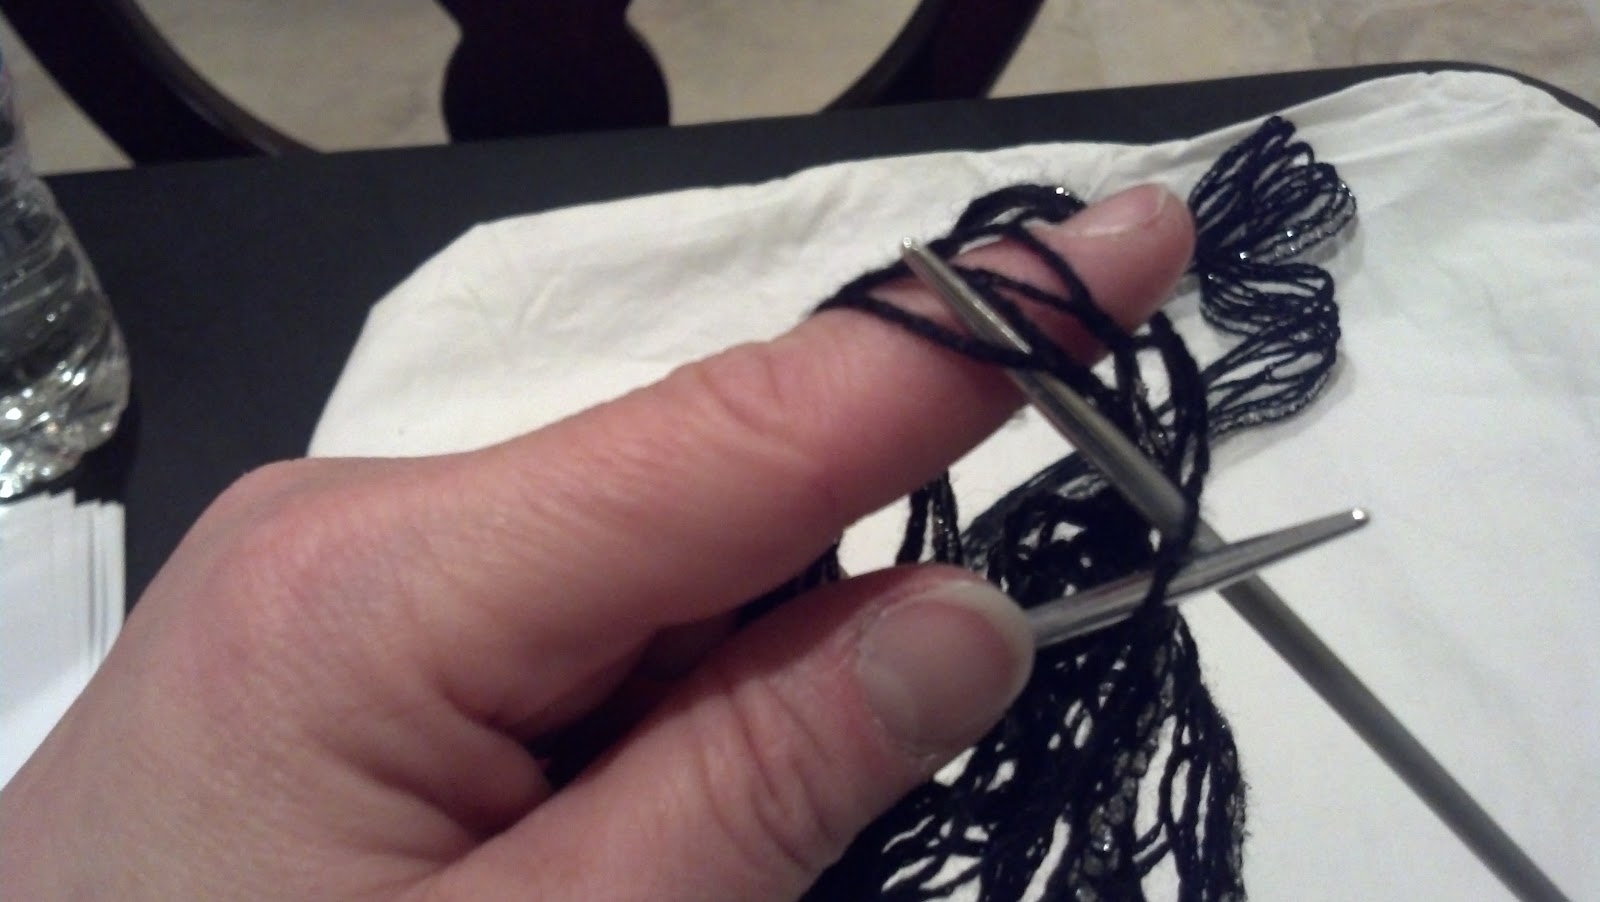
Hold the yarn spread-out and flat, draped from front to back over your index finger, using your thumb and second or third fingers to tension the yarn and stretch the spaces made by threads 1 and 2 (or on a ribbon yarn such as Red Heart Boutique Ribbons, between the working-edge thread and the ribbon).
Sashay tensioned for knitting


Insert the right needle through the first stitch as usual. Use the right needle to pick up thread 1 (the working edge) of the ball yarn from the nearest unworked loop. Complete the stitch as usual.
Starbella Flash tensioned for knitting

Repeat to the end of the row, treating the loops of the folded-over edge together with the loops of yarn with which they were matched for the initial cast-on.
Finishing the first row: work in the folded-over edge

Turn the work so that the stitches are on the left needle (if you knit right-handed, or the right needle if you knit left-handed), being careful not to twist the yarn.

The Second Row

Knit (or purl) as usual.

Flaunt after three rows.
Note how the ribbon nests over each previous row.


Sashay has been kept untwisted through multiple rows

A tip about knitting needles: If you expect to have to put your work down for any reason, you will need to make sure that your stitches don't fall off either the back or the tip of the needle, as well as making sure that threads other than the working thread don't loop over either end of the needle and confuse your stitch count. One way to do this is to make a set of four hardboard or foam core disks, about 1.25" (3 cm) in diameter, with center holes just large enough to fit your needles through. Thread one disk to the back of each needle before casting on; put one at the end of work on each needle before putting it down. Another method is to knit on round needles, and bind the two needle ends together.
A hardboard disk keeps stitches from slipping off the back end


Saturday, February 9, 2013

Defining the Width: Rows and Spaces


Because some patterns and techniques may specify either collapsing several threads together to create a thicker working edge or working with interior spaces (spaces that are formed by openings between threads other than Thread 1 and Thread 2), we need a common way to refer to these threads and spaces..
Sashay has 10 threads plus an embellished edge

In Knockout Kreations' Simple Switchin' Headbands, Angelina refers to the spaces between two long threads as "rows of loops". While she begins numbering them from the embellished edge, it is more practical to number them from the working edge, since different yarns have different numbers of threads, and different arrangements of threads, across their widths.

I tend to look at the width-wise spaces of a  yarn through a line perpendicular to the yarn's length. For example, I see either three full spaces across the width of Starbella (marked A, B, and C), or four spaces (a, b, c, and d). Kind of confusing, right?
Starbella Flash has seven threads (plus an embellished edge) - but how many spaces?
In the end, I think Angelina has the right of the count, while not of the order:  if we number our width-wise spaces based on the thread count, the confusion disappears, even if those spaces seem to progress in a zig-zag faxhion:
Starbella Flash - The threads are numbered yellow; the spaces, white.

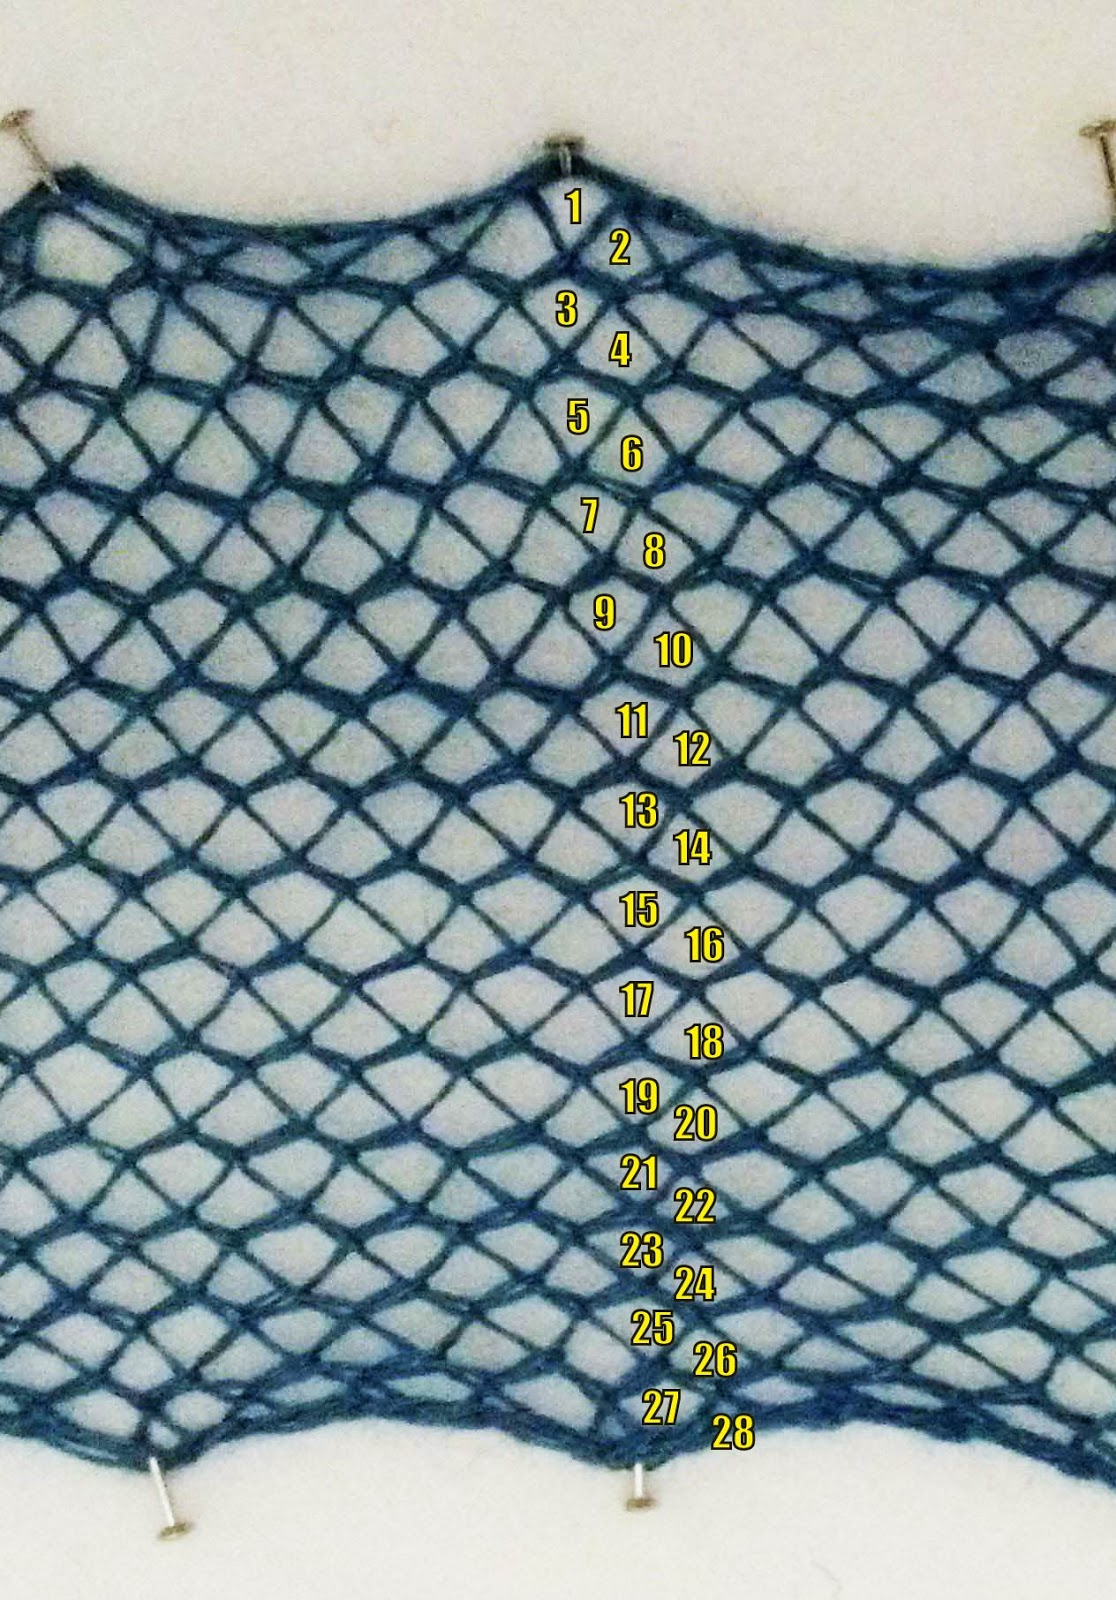
Space 1 is formed by threads 1 and 2; space 2 is formed by threads 2 and 3; space 3 is formed by threads 3 and 4, and so on. By this method, Sashay has 10 spaces, Pirouette has 6, and the smaller-holed Twist & Twirl, 28.
Spaces in Sashay

Piroutte has six spaces
plus a three-row embellished edge

Twist & Twirl has 28 spaces


It may be easier to envision the spaces as forming a sort of diagonal across the width of the yarn, as you can see in this sample of Trendsetter Yarns' Flamenco.
Spaces in Flamenco (Trendsetter)