Showing posts with label yarn techniques. Show all posts

Sunday, April 14, 2013

Mock Croc, Scallop, or Shell-in-the-Yarn

Shell motifs is to crocheters as seed stitches are to knitters: a basic pattern of stitches that creates a small, textured motif in the finished work. They take little advanced knowledge and make the work go quickly. One of the most popular shell motifs today is the overlapping detached shell, also known as the crocodile stitch.


A similarly-scaled effect can be created in either knit or crochet by varying the number of threads we pick up each time we wrap the yarn over the hook or needle. The difference between this and ruching is that with the scallop stitch, we pick up all of the threads from the working edge through the indicated thread for the current wrap, rather than picking up only the thread of the current wrap. As I noted in a previous post, this will create a variable thickness in the working row; crocheters may need to use a larger hook to get the bulk of multiple working threads through the previous work. Conversely, knitters may need to use a smaller needle to manage working the multiple threads.

Single chain, Shell-in-Yarn, Starbella Flash
The basic method of working scallops is to pick up one additional thread on each stitch (or yarn-over) through the embellished edge, then one fewer thread on each stitch (or yarn-over) until only the working edge remains, and repeat.This works fine in a double or treble crochet and a wide mesh, in which the repeat may only take two or three stitches; it's a bit less obvious in knitting, where the repeat could take as many as twenty stitches.

Six rows knit scallop, Starbella Flash

One method of shortening this is to work with multiples of two, three, or more threads on each stitch.

I brought the pattern forward on the sample at right by working 1, 4, 7. all, 7, 4, 1 threads on an every third row pattern over 20 stitches. I brought all the scallops to the front of the work, and straight ruffles to the back, as follows:

R1, 2: knit
--start pattern--
R3: knit scallop row
R4: knit
R5: purl
R6: purl scallop row
R7: purl
R8: knit
--end pattern--

The scallops aren't precisely counterposed on this sample — I should have worked over 21 stitches to do perfect three-and-a-half pattern repeats: (1, 4, 7, all, 7, 4 for a six-stitch pattern)

A deeper scallop might be achieved by skipping one or more spaces between each yarn-over.


6-row scallop stitch pattern
In crochet, scallops can be sent to one side of the work using the ball front/ball back technique discussed in a previous post.

Saturday, March 30, 2013

Front and Back of Work

It's easy to tell the inside from the outside of most knitted or crocheted garment pieces by the pattern of stitches: three-dimensional work such as cables and popcorn stitches are only apparent on one side of the finished work.

Up to this  point in this blog, I've only treated stitches that look the same on both sides of the cloth, with one exception: crocheting in the round.

When you crochet or knit [note: knit, not knit and purl] in the round, the bulk of the ruffle yarn remains on one side of the work, creating a tight ruffled texture on one side and the traditional appearance of knitting or crocheting on the other. When you work flat, the yarn  stays on the same side of the hook or needles, but each time you turn the work, you alternate working from the front and the back of the garment. This causes the ruffle to appear on both sides of the work, making it difficult to use for many garments other than The Scarf.

Knitting has a basic stitch that is different from the front and back of the work: stocking (stockinette) stitch. Alternating rows of knit and purl, the structure of the knit is seen on one side of the work, while a more condensed version of the garter stitch appears on the other side. With ruffle yarns, this usually-reverse side will contain all the fabric of the ribbon or mesh, while the knit side will appear as a loosely-worked traditional knit. Viewed from this side, the technique is called reverse stockinette stitch.

Crochet is another matter. In order to get a distinctive front and back of the work, we need to make sure that we are always feeding the yarn from what will become the outside of the finished fabric. Because this means switching the ball of yarn from in back of the work (when the ruffling is facing away from you) to the front of the work (between you and the hook, when the ruffling is facing towards you), I'm referring to it as "Ball Front/Ball Back". The following video describes the technique. 


Friday, March 8, 2013

Changing the Ruffle Width

The mesh structure of ruffle yarns allows us to play with the width of the ruffle — that is to say, how far it stands out from the body of the fabric. In sewing, a narrower ruffling strip makes a narrower ruffle, and that's pretty much the end of it. (Unless you're ruching the strip, which is the subject of another post.)

We can create a narrower ruffle in two ways:
  1. We can work the first two, three, four, or more threads together into a thick working edge.
    Working the first, first two, first three, and first five threads of Sashay.
    Chain side of 5, 3, 2, and 1 worked threads

  2. We can make the second, third, fourth, or middle thread as if it were the working edge, leaving Thread 1 to form a second, often shallower, double ruffle.
Top to bottom: Chained 5th thread; chained first 5 threads together; chained first 3 threads together; chained 3rd thread

Ruching

Ruching is a pleating or ruffling technique of taking equal, measured stitches diagonally across a narrow piece of trim in a zig-zag pattern and gathering the fabric along the seam line, straightening out the seam. The result is equally-sized puffs of fabric on both sides of a central seam, each side offset from the other by half the length of the zig-zag.

The orange yarn marks the ruching path

The blueish yarn marks the ruching path
The gathering (ruching) thread has been drawn straight.
Starbella Flash drawn up on ruching thread

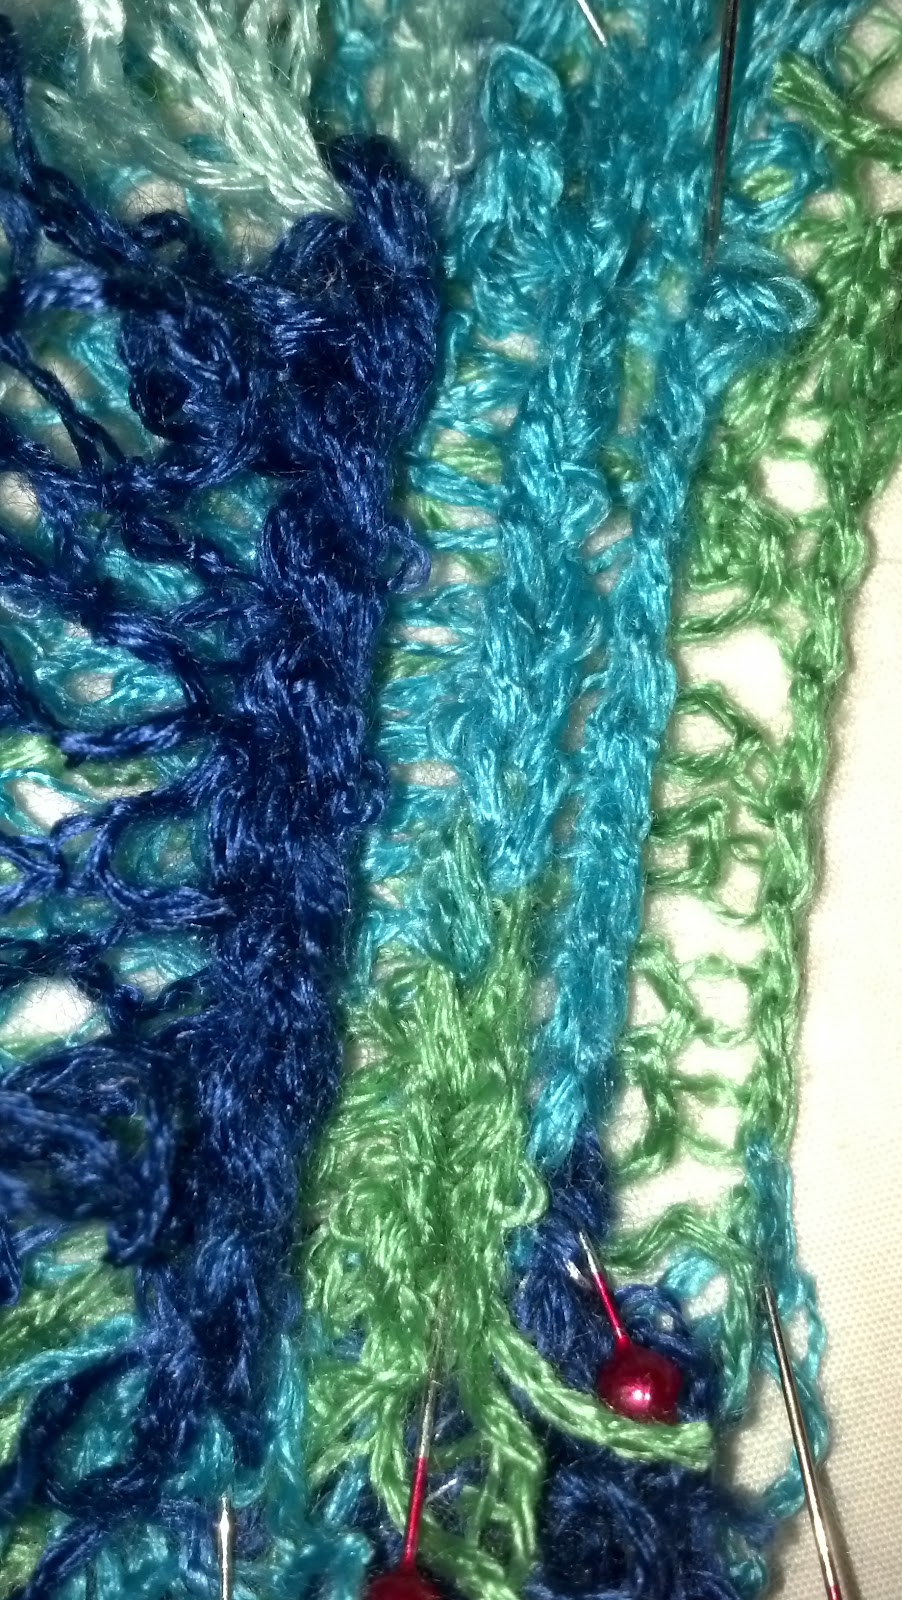
Another method is to slip stitch along the ruching lines. This creates an equally measured path along which the yarn can be easily folded, creating two overlapping rows of petals.

Top: Starbella Flash trimmed in Lily Daisy #30 crochet cotton
Bottojm: Trendsetter Flamenco trimmed in Velnette


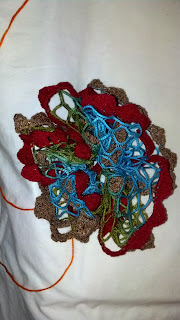
When wrapped spirally, ruched ruffle yarn makes a distinctive ruched rose.

Tuesday, February 26, 2013

Technique: Mitered Cast On and Bind Off

One method of hiding the raw edges on ruffle yarn is to work them into the bind on and cast off of a piece.

Casting On


Fold the raw edge diagonally so that the first row of alternate spaces meets the loops formed by Threads 1 and 2.
Match the loops to the alternate spaces. You may need to pin the openings to a padded board to keep them aligned.
Cast on or chain as usual, keeping the matched openings together.


Finishing Off

As you approach the end of your piece, count out the number of loops you need to bind off and/or finish the final row or round. You should do this when you require one or two loops more than the number of alternate rows on your yarn.
Cut the yarn with two or three loops more than you need to finish your work.

Fold the raw edge diagonally so that the first row of alternate spaces meets the loops formed by Threads 1 and 2. Be sure to make your fold so that the raw edge will end up on the inside of the work, rather than the outside (as I did in following photos).
You may need to transfer the matched loops to a cable needle or other holding needle to keep them in order as you finish the final row.
A third needle keeps the loops-to-be-worked straight

Continue to crochet, or to bind off, as usual. Finish and secure the threads and open loops at the working edge.
A mitered bind-off


Note that if I had folded the raw edge to the other side of the working edge, the raw edges at the top would have been hidden.

Counting Stitches: Alternate Spaces

Some patterns and techniques will require you to make use only of spaces in a pattern that is perpendicular to a particular loop -- say, to create a mitered corner or a traditional (bent at 45-degree angles) ribbon rose.
Depending upon whether your spaces are to start, you would use either the spaces defined by the capital letters below, or the spaces defined by the lower-case letters.


Or, in the theme we discussed earlier, usually the odd-numbered spaces, but occasionally the even-numbered ones.

Friday, February 22, 2013

Basic Stitches: Double Crochet

Double Crochet

Double crochet is, in my opinion, the quickest and most effective fabric, or filling, stitch in crochet. It works up more rapidly than single crochet, without the long bars and open spaces of treble crochet, double treble, or bullion stitch.

In ruffle yarns, the longer stitch of double crochet presents a deeper ruffle than single crochet. On the flip side, the longer stitch means a longer length of unruffled "back side" between rows on The Scarf, while reducing the "z-direction" — the thickness of the scarf. It makes for a thinner, more flexible scarf, and in a ribbon yarn, can bring to mind the curls of natural fleece or the evenly-spaced curves of an Elizabethan ruff.


Insert hook through next open loop of yarn.
Insert hook through next open chain or stitch; wrap next open loop of yarn around hook.
Use hook to draw the last thread through the chain or stitch.
Wrap next open loop of yarn around hook.
Draw thread through the loop and yarn-over on the hook.
Yarn over once again, and draw through both loops on hook.
Row of Double Crochet (Flamenco by Trendsetter)
Row of Double Crochet (Twist & Twirl by Bernat)

After a few rows of stitches:
Flamenco (Trendsetter)

Twist & Twirl (Bernat)
Top to bottom: Flaunt (Loops & Threads)
Sashay (Red Heart Boutique)
Starbella (Premier Yarns)

Thursday, February 21, 2013

Basic Stitches: Single Crochet

Single Crochet

Single crochet creates a dense, thick, shallow ruffle.
Flamenco by Trendsetter Yarns
Insert your hook through the chain top of the previous row or round, or the top of your foundation chain.
Slip the next free loop of the yarn's working edge over the hook.
Draw the thread through the previous-row loop.
Slip the next free loop of the yarn's working edge over the hook.
Draw the thread through both loops on the hook.

After the first row:

After several rows:

The other side of the work:

Examples

Top to bottom: examples of single crochet in Flaunt (Loops & Threads), Sashay (Red Heart Boutique), and Starbella (Premier Yarns). Note the short yarn height, shallow ruffles, and dense texture.


Starting Work: Crochet


The Foundation Chain

After preparing the yarn, unroll a foot or two so that the working edge is at the top, and the free edge is at the bottom.

Large Net and Ribbon Yarn

Fold over the raw edge between the second and third loops so that the second and first loops exactly overlay the third and fourth loops.
Starbella FlashRibbon Yarn (Loops & Threads Flaunt)

Considering only the working edge, the first double-loop from the folded edge is your initial slip knot. Insert the hook into the second double-loop and pull through the first for your first chain. Place a stitch marker through the first chain stitch.

Stitch marker through first chain stitch (lower right)
Continue to chain by inserting the hook through the next open loop of yarn and pulling the thread through the chain loop on the hook.


Small Net Mesh Yarn

Fold over the raw edge 1"-2" (2-5 cm) on a narrow yarn, or 3" (8 cm) on a wider yarn, matching loops on the working edge.


Insert the hook into the working edge about 1/2" (1 cm) from the folded edge.

Considering only the working edge, insert the hook about 1" (2.5 cm) from the loop already on the hook; pull through the loop on your hook for your first chain. Place a stitch marker through the first chain stitch.
Second chain. Notice stitch marker under thumb

Chaining


If you start your work with a chain, continue chaining in this manner until you have as many stitches as your pattern requires. Place a stitch marker through the last chain before starting your first row.


The First Row


The top chain of Flaunt is highlighted in yellow The top chain of Twist & Twirl is highlighted in green
Looking  at the top of the chain you just completed, you should see what looks like a traditional chain stitch, formed by the working edge. This is the part of the work into which you will insert your hook for the first row of stitches.


Continue to use the next open loop on ribbon and large mesh yarns (or the loop about 1" from the previous yarn-over on small mesh yarns) for yarn-overs, while in all other ways forming your stitches as usual.


Notes

Remember to move up your stitch markers at the beginning and end of each row, or at the beginning of each round.

If for any reason you need to stop your work, remove your hook from the active loop and insert a locking stitch marker in its place.